
Flexible sealant in moving joints around a pool keeps water, grit, and shifting surfaces from widening a small gap into cracking and water infiltration. It protects coping, deck joints, and tile lines when the joint can still move.
If you are seeing splits near the coping, deck edge, or waterline, the fix starts with the joint, not the bead. You need the right location, sealant type, and prep steps to make the repair last through heat, chlorine exposure, and UV.
Where pool caulking belongs around the pool
The first clue is movement, because the seal belongs where hard materials meet and shift at different rates. Around a pool, that usually means the pool coping, the deck-to-pool joint, perimeter expansion joints, and some tile line seams near the waterline.
Pool coping caulk belongs at the coping joint and other planned gaps, not across random shell cracks. PHTA training treats that edge as a movement joint first and a weather barrier second, which is why the bead has to flex instead of harden.
Copings and deck edges need flexibility
The pool deck and the pool edge do not move the same way. Sun heats the slab, rain cools it, and soil under the deck shifts with moisture, so the gap at the edge opens and closes all season.
That movement is why a pool deck expansion joint sealant needs stretch and strong adhesion. Concrete Construction guidance on control joints follows the same logic: let the slab move, or the crack moves somewhere else.
Tile lines and vertical seams need different products
Horizontal joints can take a self-leveling product, while vertical seams need a non-sag bead that stays in place. A spa face, narrow wall seam, or upright coping detail will slump if you use the wrong formula.
Tile lines near the waterline add constant moisture, chlorine contact, and cleaning pressure. That is why the right pool sealant for coping joint work starts with location and exposure, not brand name.
Places where caulk does not belong
Not every crack should be filled. A widened structural crack, a broken bond beam, or a settled deck edge needs diagnosis, not a cosmetic patch.
Hairline checking in cured concrete can be normal, but a crack that opens and closes or pulls in water points to a deeper issue. Once that happens, the repair target shifts below the surface line and away from simple pool caulking.
That kind of leakage usually means the joint itself has given way, not just the surface bead.
The warning signs that a seal has failed
Visible splits are the easiest clue, but they are not the only one. Grit collecting in one spot, dampness after dry weather, and a bead shrinking away from one side of the joint all suggest the seal has stopped blocking water.
Repeat failure matters more than one ugly seam. UV resistance, chlorine exposure, wetting and drying, and poor adhesion all shorten service life, and adhesive or cohesive failure can show up before the joint opens wide.
Look closely at the edge, not just the bead. A shadow line beside the seal often appears before water infiltration shows up in the deck or coping.
Cosmetic checking versus joint opening
Fine surface checks in the bead can be normal aging. A true problem creates a path for dirt, water, or insects and often grows wider after hot days or heavy rain.
If a fingernail catches the gap or the edge lifts, the bond has already failed. That difference matters because a surface crack can wait for maintenance, while an open joint can damage the materials beneath the pool coping.
Why seals keep failing in the same spot
Repeat failure usually points to motion, not bad luck. Settlement at the deck edge, thermal cycling, dirty substrate, and constant chemical exposure all work against adhesion.
ASTM C920 is the performance standard many pros use to judge movement-capable sealants. A clean pull from one side suggests bond loss, while a torn bead through the middle suggests the product ran out of stretch.
A torn bead often points to the wrong product, making stretch and adhesion the deciding factors.
Choosing a pool-safe sealant for the joint
The best product depends on the joint position and how much it moves. Self-leveling polyurethane sealant works well on flat deck joints, while vertical seams usually need a non-sag polyurethane or a compatible silicone sealant.
The label should mention exterior or wet-service use, plus UV resistance and chemical resistance. Chlorine, salt systems, and summer sun shorten the life of a weak product, so the chemistry has to match the exposure.
| Joint location | Better product fit | Why it fits |
|---|---|---|
| Coping to deck | Self-leveling polyurethane | Flows across flat joints and leaves a smooth surface |
| Vertical spa seam | Non-sag polyurethane or compatible silicone | Stays in place on upright surfaces |
| Tile line near water | Wet-service sealant rated for frequent exposure | Handles splashing, cleaning, and constant moisture |
| Wide movement joint | Elastomeric sealant with backer rod | Supports stretch without three-sided adhesion |
Backer rod and joint geometry matter
Backer rod is not just filler foam. It sets bead depth, prevents sealant from sticking to the bottom of the joint, and helps form the hourglass shape that stretches well.
Joint width matters too. A narrow crack packed full of sealant can fail from shear, while a joint that is too wide for the product can pull apart at the edges.
Even a good sealant fails if the joint is dirty, unstable, or sized beyond its limits.
Pick the sealant for the movement, not the label color. A bead that matches the deck but lacks stretch will fail faster than a plainer product installed at the right depth.
Preparing the joint for a lasting bond
Old residue is the main enemy of adhesion. New sealant bonds poorly to dirty edges, cured skin, wet concrete, dust, efflorescence, and oily film left by some cleaners.
Dry, clean, sound surfaces give the bead the best chance to hold. That means stripping the joint, vacuuming it, wiping it, and leaving it free of loose grit before the caulking gun comes out.
Surface cleaning and drying
Cut out every bit of failed material first. A utility knife, oscillating tool, or caulk-removal blade can free the bead, and a vacuum clears the dust from the recess.
Then the joint needs to dry. Trapped moisture weakens adhesion and can cause bubbling or early peel, especially on a pool deck that has been washed or splashed recently.
Masking and depth control
Painter’s tape gives the joint a crisp edge and cuts cleanup time. Set the tape before the bead goes in, and pull it while the sealant is still workable so the line stays sharp.
That same care keeps sealant off stone texture and coping faces. A clean edge matters more than speed when the joint sits beside pool tile or a finished deck surface.
Once the surface is ready, careful application keeps the new bead from smearing across finished edges.
- Remove all residue – New sealant sticks far better to clean concrete than to cured remnants of the old bead.
- Vacuum the joint – Dust inside the gap weakens adhesion and makes the finish gritty.
- Check for moisture – Damp concrete can shorten bond life and trap bubbles in the bead.
- Use backer rod – Proper depth keeps the seal flexible and cuts the chance of three-sided adhesion.
- Mask both edges – Tape helps you lay a neat line along coping, tile, or deck concrete.
Replacing pool caulk without creating a mess
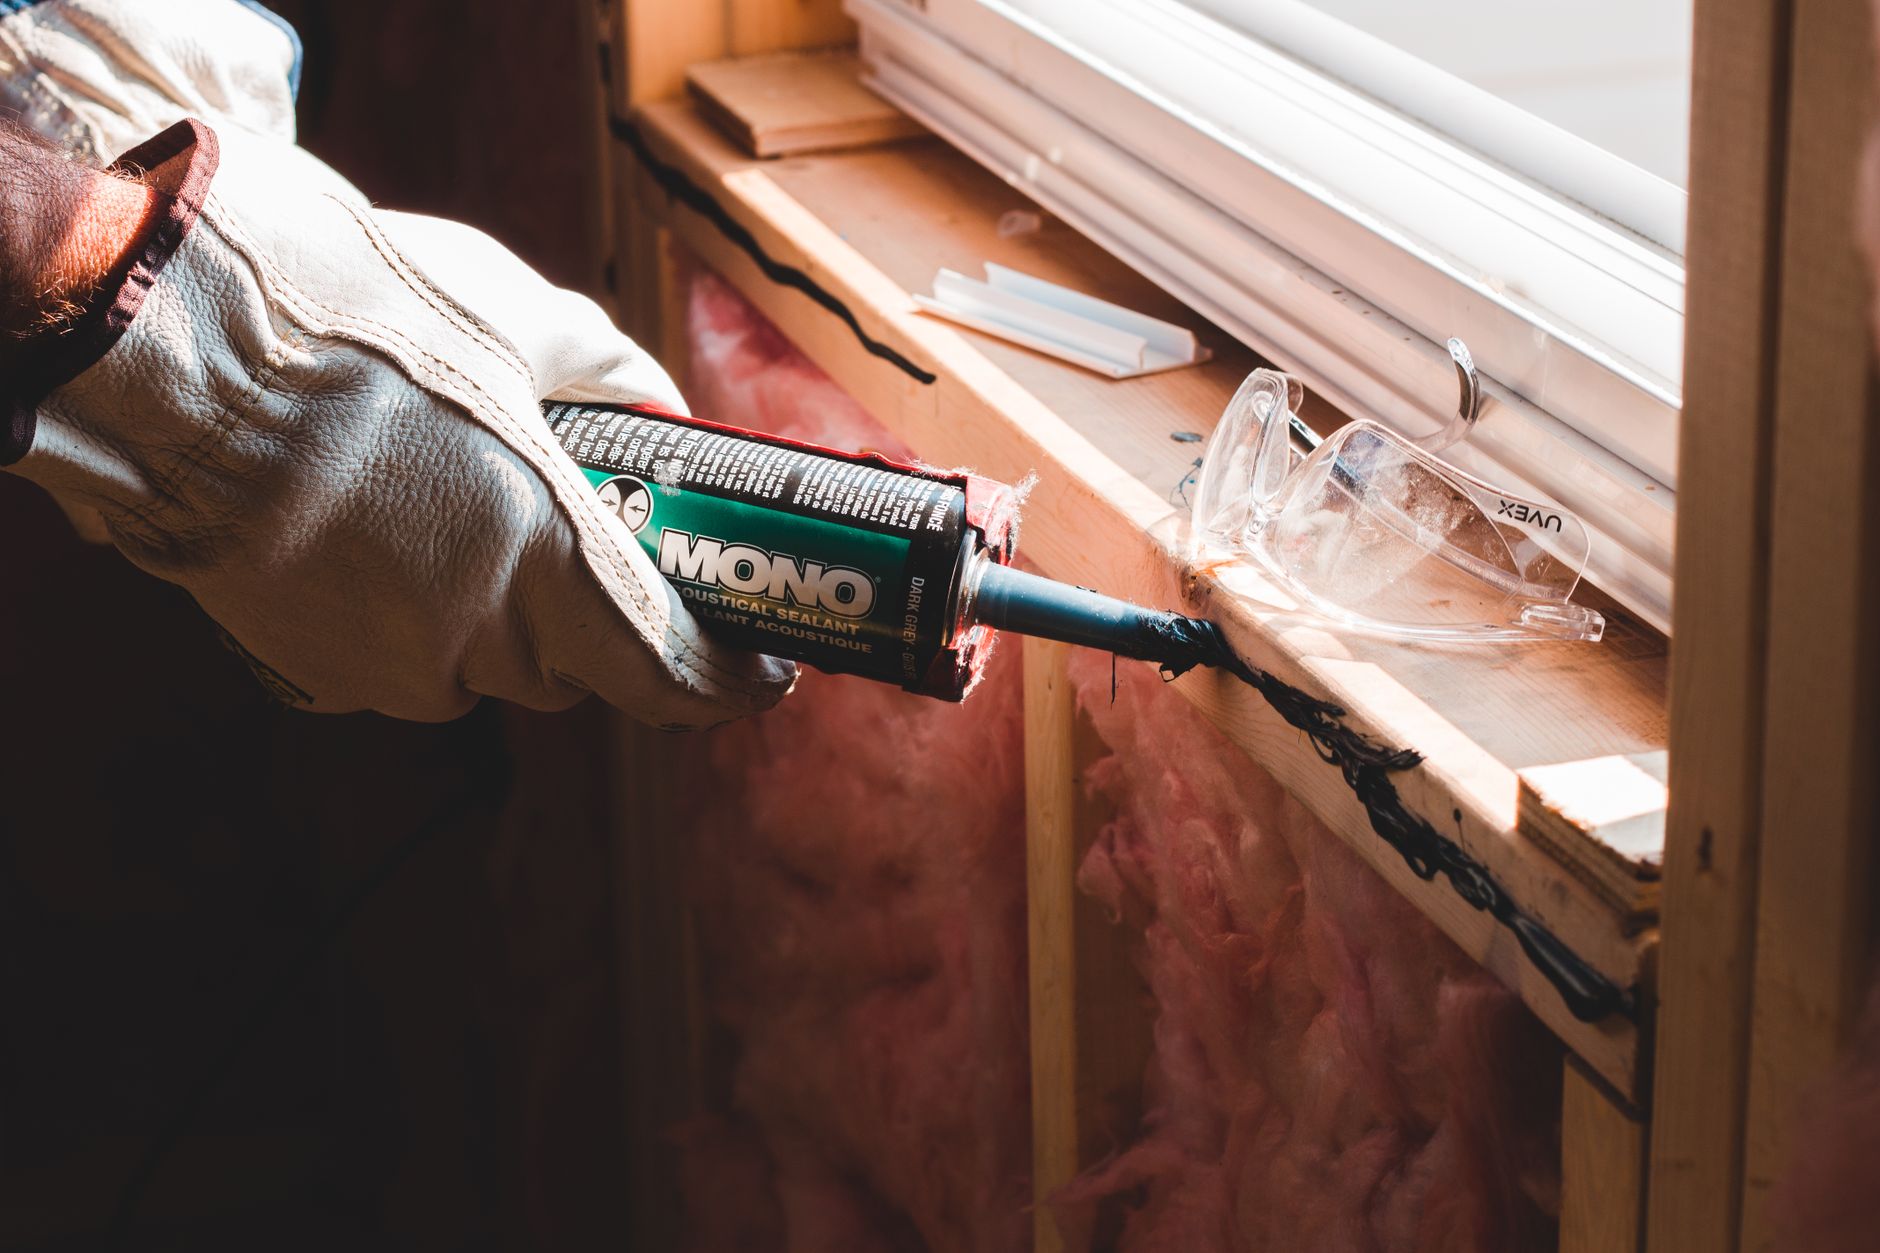
A clean repair starts before the new tube is opened. You cut out the old bead, inspect the joint base, set backer rod where needed, and then load the caulk gun.
For homeowners who want to replace pool caulk without dragging sealant across the deck, timing matters. The bead needs steady pressure, one continuous pass, and quick tooling before skin forms.
- Cut out the old bead – Slice both edges cleanly, then lift the failed material in long strips.
- Inspect the base – Look for crumbling concrete, loose coping, or gaps deeper than the visible seam.
- Set backer rod – Press it to the right depth so the sealant bonds to the side walls only.
- Mask the joint – Tape the edges before you open the cartridge, especially on textured deck finishes.
- Run one steady bead – Keep pressure even on the caulking gun so the joint fills without air pockets.
- Tool right away – Shape the bead while it is fresh, then pull tape before the skin sets.
- Respect cure time – Keep water off the repair until the product reaches handling and full cure strength.
A spa owner in Phoenix once had a bead split after a week of 110-degree afternoons. The repair looked neat, but the base had stayed dusty under the old caulk, so the new line never held.
Pool caulking also behaves differently from indoor trim sealant. Sun, splash, deck traffic, and wet chemistry all act on the joint at once, so the repair needs the right material and patient curing.
After the bead cures, repeated breakdowns reveal whether the surrounding conditions are still defeating the repair.
Reading repeat failures before they spread
When the same joint splits again, the problem has usually moved past the bead. Deck edge settlement, an unstable coping bed, or shrinkage in the concrete can push the sealant beyond its movement range.
Water infiltration leaves clues. Darkened concrete, rust stains near steel, softened bedding under coping, and sand washing out of a seam all point to moisture moving where it should not.
Signs the problem has outgrown caulk
Repeated tearing after proper prep suggests structural movement or a bad joint size. A joint that widens every season, or a coping stone that rocks under foot, needs more than another tube of sealant.
At that stage, the repair plan shifts toward deck or shell assessment. A bead can hide the symptom, but it cannot correct an unstable base or a changing pool deck.
When a pro needs to step in
A pro inspection makes sense once the gap keeps opening, tiles pop loose, or the deck has a visible dip near the perimeter. The issue may involve the bond beam, coping mortar, or soil support under the slab.
You can still reseal the joint afterward, but only after the movement source has been addressed. Otherwise the same split returns with the next heat swing, and the pool sealant for coping joint work does not last any longer than before.
When the same split keeps returning, the failure pattern itself becomes the clearest warning.
What to remember
The seal around a pool is there to move, shed water, and keep grit out of a vulnerable joint. Pick the product for the exact location, prepare the surface with care, and stop treating a recurring split as a cosmetic problem.
The joint line tells you what the structure is doing underneath. When cracking keeps returning, the next repair may need more than pool caulking alone.
That pattern matters because a stubborn joint may be signaling movement deeper than the caulk can handle.
Final thoughts
A clean, dry joint sized for movement gives sealant its best chance at lasting through sun, splash, and seasonal shifts. Silicone sealant, polyurethane sealant, and backer rod each have a place, but only when you match the material to the joint shape and exposure.
That is why how to caulk a pool starts with the joint itself. If the base is sound, the repair can hold for years; if the deck is moving, the same gap will keep reopening until the underlying problem is fixed.
FAQ
What is pool caulking?
Flexible sealant at moving joints around a pool blocks water, dirt, and debris before they can work into the gap. It protects coping, deck edges, and tile lines while allowing the joint to expand and contract.
Where should pool caulking be applied around a pool?
Apply it at the coping-to-deck gap, perimeter expansion joints, and other planned movement joints. It can also belong at some spa seams and tile line details where moisture and movement meet.
How do I know when pool caulking needs to be replaced?
Replace pool caulk when it pulls away from one side, cracks open, collects grit, or lets water in. A joint that keeps failing after proper prep usually needs more than a simple touch-up.
What type of caulk is best for pools?
A pool-rated exterior sealant with UV resistance and chemical resistance is the safest choice. Self-leveling polyurethane works for flat joints, while vertical seams need a non-sag product.
Can I caulk a pool myself or should I hire a professional?
You can handle simple repairs if the joint is stable, clean, and shallow enough for the right backer rod and sealant. If the coping rocks, tiles loosen, or the gap keeps reopening, a professional should inspect the base first.
How do I remove old pool caulking?
Cut both sides of the old bead with a utility knife or caulk-removal tool, then pull the material out in strips. Vacuum the joint, remove residue, and let the surfaces dry before installing the new bead.