Don't miss our holiday offer - up to 50% OFF!

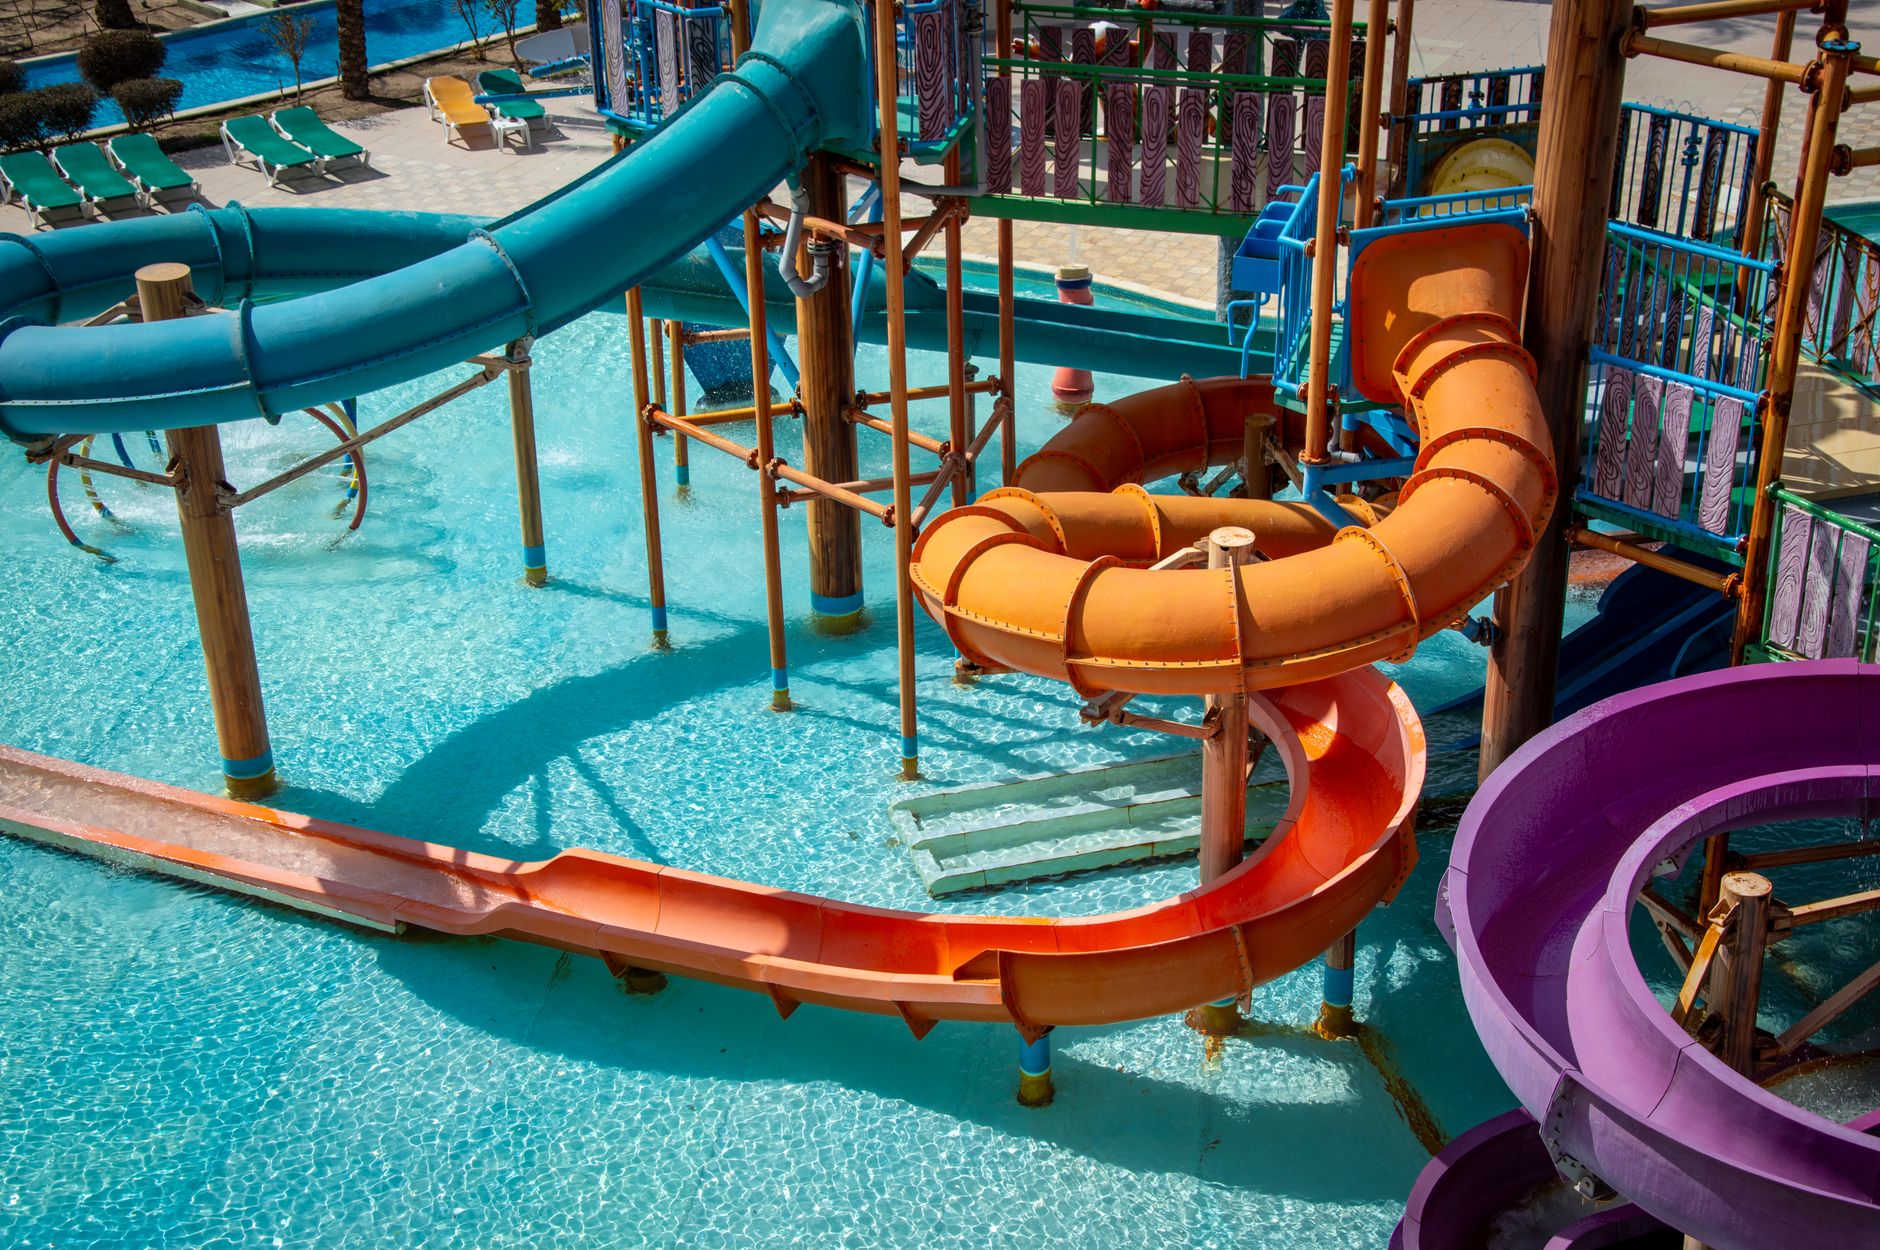
Diy Pool Slide: Safe Build, Materials, and Rules

A backyard water feature becomes safe only when the frame, anchoring, slope, and landing depth all match the pool and deck. Miss one piece, and wobble, cracking, or a shallow exit zone can turn a fun ride into a hard stop.
You need clear guidance before anyone climbs up, whether you’re working with an above-ground pool, a raised deck, or an in-ground pool. The checks below focus on safety, materials, and the code issues that can stop a project fast.
The Safety Stakes Behind A Homemade Slide
A slide is load-bearing equipment, not patio decor. The frame, deck, fasteners, and landing area all share the stress of a moving body, wet feet, and a sudden stop.
The U.S. Consumer Product Safety Commission treats pool features as safety equipment because a bad install can lead to impact, fall, or entrapment hazards. The National Drowning Prevention Alliance also pushes layered protection, since speed and water meet at the same point.
Three failure modes show up fast. Tipping starts when the base shifts under side load, cracking starts when the shell flexes past its design, and corrosion works slowly on bolts, brackets, and hidden joints.
That load path matters more than a pretty finish. A DIY pool slide can look solid and still fail at the anchor point, where wet-dry cycles and rider motion keep prying on the same hardware. A homemade pool slide needs structural thinking first, then finish work.
Structural Problems Start At The Base
A slide base that rocks by even a small amount can widen bolt holes and loosen the whole unit over time. Side loads from climbing, pushing off, and twisting on the platform make that movement worse.
Surface Hazards Show Up At The Exit
Shallow water raises the chance of hard-bottom contact, and a slide that exits too near a wall or ladder can send a body into a collision path. That is where neck, shoulder, and head injuries become a real concern.
That collision risk is why the slide’s fit, height, and surrounding water have to be measured with care.
Fit, Deck Height, And Water Depth Set The Limits
Fit controls whether a DIY pool slide works at all. Above-ground pools need a different support plan than an in-ground pool, because deck height, wall shape, and approach angle change the load path.
- Measure deck height: Match the slide platform to the actual rise from ground to deck, not the brochure number.
- Check edge clearance: Leave room for the base, the ladder, and safe entry without crowding the pool wall.
- Confirm water depth: The landing zone needs enough depth for the slide exit and the user’s body position.
- Clear nearby fixtures: Keep the runout away from steps, lights, skimmers, rails, and ladders.
- Watch the angle: A steeper run increases speed and impact force at entry.
The American Academy of Pediatrics warns that shallow landing water can raise head, neck, and spinal injury risk. Pentair and other pool equipment makers also tie safe use to exact deck height, anchoring points, and minimum depth at the exit zone.
Above-ground pool setups need extra care because the deck or support frame can take more concentrated force than the pool wall itself. In-ground pool setups give you more freedom, but the landing zone still needs enough depth and clear runout. That layout work leads straight into material choice.
Above-Ground And In-Ground Pools Set Different Boundaries
An above-ground pool often needs a dedicated frame or deck attachment so the slide does not load the pool wall. An in-ground pool can sometimes accept simpler placement, but only when the deck and exit depth fit the slide maker’s specs.
Landing Depth And Clearance Control Safety
Water depth at the exit is not a guess. Too shallow, and the body hits bottom; too tight, and the body hits structure; too awkward, and the rider leaves the slide at a bad angle.
Those impacts make material choice critical, especially when sun, chlorine, and salt keep wearing the surface down.
Materials That Hold Up In Sun, Chlorine, And Salt
Sunlight, chlorine, and saltwater attack different materials in different ways. UV light makes some plastics brittle, chlorine speeds surface wear, and saltwater accelerates corrosion on weak hardware.
| Material | Why It Fits | Where It Can Fail |
|---|---|---|
| UV-stabilized fiberglass | Smooth riding surface and good outdoor durability | Cracks at stress points or poor seams |
| UV-resistant polyethylene or polypropylene | Light, weather-ready, and common for molded sections | Can warp or get brittle without stabilizers |
| 304 or 316 stainless steel hardware | Strong corrosion resistance around wet pool areas | Pitting can still appear in trapped moisture |
| Pressure-treated lumber | Useful for framed supports above ground | Can move, swell, or split without sealing |
University of Wisconsin-Madison Extension guidance on outdoor plastics points to UV resistance as the main filter. That matters because a smooth-feeling shell can still age badly under sun if the polymer lacks stabilizers.
Stainless steel hardware belongs on almost every wet connection point. Sealed joints, non-slip steps, and traction at access points matter just as much, because the safest shell still fails when a wet foot slips on the way up.
Chlorine and saltwater can weaken brackets and bolts long before the finish looks bad. That slow damage is a chemistry problem, not a cosmetics problem, and it is one reason hidden metal deserves close attention.
Fasteners And Joints Need Wet-Environment Ratings
Use marine-grade or pool-suited fasteners where the slide meets the frame. Trapped moisture around washers and lag points can turn a small corrosion spot into a loose mount.
Access Surfaces Need Grip
Steps, ladders, and platform landings need slip resistance because wet skin and wet soles change friction fast. A gritty tread or molded traction area matters more than glossy looks.
Once the surface is safe underfoot, the slide still needs a way to stay put against shifting loads.
Anchoring Details That Keep The Slide From Moving
Anchoring has to stop side sway, lift, and twist. A base that shifts under load is not ready, even if the slide looks level on install day.
The CPSC and the Pool and Hot Tub Alliance both stress stable deck attachment and routine inspection of the connection points. That advice lines up with installer manuals from Pentair and SR Smith, which call for a rigid mounting surface and hardware sized for the actual support structure.
Concrete mounting gives you the cleanest footing when the deck is slab-based. Wood decking needs direct tie-in to framing members, not just surface screws into boards that can flex. On other surfaces, such as composite decking or uneven patios, the safer answer is often to stop and rethink the site.
A simple load-and-torque mindset helps here. Push at the top rail, pull at the ladder, and press at the base; any movement means the design still needs work. A DIY pool slide should resist the push of a climbing child, the twist of an adult, and repeated wet-dry cycles without loosening.
- Concrete anchors: Use the hardware pattern specified for the slide base and check slab condition before drilling.
- Wood deck tie-ins: Fasten into joists or blocking, not just deck boards.
- Diagonal bracing: Add bracing to reduce lateral sway on taller freestanding frames.
- Base leveling: Shim only within the maker’s limits, since a crooked base can load bolts unevenly.
- Recheck torque: Tighten fasteners after the first use cycle and again after heavy weather.
A saltwater pool owner should watch mounts with extra care because hidden rust can start inside joints that still look sound outside. Once anchoring is set, the build sequence has to respect those same limits from the start.
Secure footing alone is not enough; the structure also has to go together in the right order.
Build Sequence, Inspection Points, And Local Rules
A solid build starts with measurements, not lumber cuts. Measure deck height, exit distance, rail clearance, and the pool’s landing depth before you cut a single support member.
- Map the site: Mark the deck edge, ladder, skimmer, light, and splash path on paper and on the deck.
- Verify dimensions: Check slide height, platform clearance, and the water depth at the exit point.
- Prepare the base: Build or place the frame on a level, load-bearing surface with the right foot spacing.
- Fasten the structure: Install the anchor hardware, then check that every support leg sits firm.
- Seal the joints: Close exposed wood, cover cut ends, and keep water from pooling around metal-to-wood contact.
- Test the access path: Walk the steps in wet shoes and verify the surface has grip.
Inspection points need to happen during the build, not after the slide is finished. Check slope, rail height, landing position, and slip resistance before you hand the setup over to anyone in swimwear.
The International Code Council model code framework and local building rules can override a DIY plan fast. Some towns also treat pool attachments, deck loads, or barrier setbacks as permit items, and the safer route is to ask before you drill.
The CPSC, AAP, and manufacturer instructions all line up on one point: the maker’s installation method matters more than your preferred shortcut. That means a professional installer should take over when the deck is weak, the depth is marginal, or the code office says the project needs review.
Measuring Comes Before Cutting
Loose estimates cause the most expensive mistakes. A single inch of height error can change the exit angle, the support geometry, and the amount of splash path you have to work with.
Permits And Manufacturer Rules Can Override The Plan
Local pool rules win when they are stricter than the product manual. If the deck, barrier, or setback requirement does not fit the site, the slide has to wait until the site fits the rule.
Even a solid build can fall short without regular upkeep to catch wear before it becomes unsafe.
Maintenance Habits That Keep The Slide Usable
A pre-use walkaround takes less than a minute and catches the failures that matter most. Loose bolts, slick steps, and new cracks are the signs that the setup needs attention before the next ride.
CDC pool-safety guidance points to clean surfaces and clear surrounding areas, and that applies to the slide, the steps, and the water entry zone. Dirt, sunscreen film, algae, and worn tread all change slip resistance in ways you can feel under bare feet.
Make inspection part of the routine. Check hardware after storms, after a heavy weekend of use, and at opening and closing for the season. Hayward’s equipment-care guidance follows the same logic: inspect, tighten, clean, and replace worn parts before damage spreads.
- Look for cracks: Run a hand over the shell and stop at any split, chip, or soft spot.
- Check hardware: Watch for rust, loosened nuts, or washers that have started to sink in.
- Feel the surface: Step on the access path in wet conditions and check for slick spots.
- Watch the base: Look for rocking, shifting, or gaps under support feet.
- Confirm supervision: Keep an adult on duty whenever children use the slide.
Children need closer supervision than adults because they move fast, change posture, and climb with less caution. Take the slide out of service at once when you see movement at the base, a new crack, bent support legs, or water depth that no longer matches the exit zone.
When those warning signs appear together, the safest choice is to pause use and reassess the setup.
Final Thoughts
The safest homemade pool slide starts with fit, anchoring, and landing depth, not with the fun part at the top. Get the structure wrong and the rest of the project turns into a hazard. Get those three pieces right, and the slide becomes a controlled part of the pool, not a gamble beside it.
FAQ
Is it safe to build a DIY pool slide?
It can be safe only when the slide is treated as structural equipment, not a toy. You need sound anchoring, the right deck support, a deep enough landing zone, and close attention to local code and manufacturer instructions.
What materials are best for a homemade pool slide?
UV-stabilized fiberglass or outdoor-rated plastics work well for the riding surface, while 304 or 316 stainless steel hardware helps in wet, chlorinated, or saltwater settings. Sealed joints and slip-resistant access surfaces round out the build.
How do you anchor a pool slide safely?
Anchor to a rigid, level surface with hardware that matches the slide base and the deck structure. Concrete mounting, joist tie-ins, and proper bracing matter because the base has to resist side load, twist, and repeated wet-dry cycling.
What safety clearances and weight limits should I follow?
Follow the slide maker’s clearances, platform height, landing depth, and weight capacity exactly. The safest setup keeps the runout clear of ladders, walls, steps, and other pool fixtures, and it never exceeds the posted load rating.
Can a DIY pool slide be used with an above-ground pool?
Yes, but only with a dedicated frame or deck attachment that keeps the load off the pool wall. An above-ground pool usually needs more careful support planning than an in-ground pool because the structure is more sensitive to concentrated force.
Do I need permits or need to follow local building codes?
Yes, in many places you do, especially when the slide attaches to a deck, changes barrier spacing, or adds load to a structural surface. Local building codes and the slide maker’s instructions can be stricter than the project plan, so you need to check before you drill.